Calibration and protection control of Pneumatic Page Pull Tester
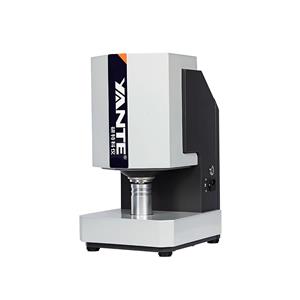
Pneumatic Page Pull Tester is based on the relevant provisions of the news and publishing industry standard "EVA hot melt adhesive for book and magazine binding requirements and testing methods" proposed by the National Printing Standardization Technical Committee. The product is mainly used for measuring the binding strength of books and magazines.
Product features:
Adopting high-performance hardware such as 32-bit ARM processors and 24 bit analog-to-digital converters.
Embedded FreeRtos operating system, multitasking in parallel, running smoothly.
Equipped with a 7-inch color touch screen, available in multiple languages such as Chinese and English for easy operation.
Self developed patented fixture, automatic clamping, one click testing.
Equipped with two functions: middle page and edge page testing.
Double ball screw, closed-loop hybrid stepper motor.
Store 20 sets of test data and curve data without losing power.
● The upper limit of strength can be preset, and non-destructive compliance tests can be conducted.
● Limit protection and dynamic range fast protection.
Calibration and protection control
This product has undergone force calibration before leaving the factory, and users generally do not need to calibrate it. When it is found that the displayed force value does not match the actual value after a long period of use, corresponding calibration should be carried out to ensure the accuracy of the measurement.
1) Fix the measuring arms (two pieces) in the random attachment at the positions shown in the figure below on both sides of the sensor cover, with 2 screws on each side. Hang a weight tray at the concave part of the outer beam of the measuring arm;
2) Click the "Up" button to raise the measuring arm to a high point, and click on the "2-point calibration mode":
4) Click on the [Magnification Factor] cell to switch the magnification to 128 (based on the principle of high to low), click on the [Range] to input the standard range value of the sensor, and click the "0" button to reset the force value to 0;
5) Add 150N standard weights (or take 2/3 of the range) to the weight trays on both sides, and observe the error between the current force value of the instrument and the actual gravity of the standard weight. If the error is within ± 1%, calibration is not necessary, otherwise proceed to the next step of calibration.
Attention: Non professional metrological verification personnel are not allowed to perform the following calibration steps!
6) Calibration: When the error between the current force value of the instrument and the standard weight exceeds ± 1%, click on the 【 Force Value 】 cell, enter the standard value of 300N to make it consistent with the standard weight, and click
Enter password 3215 to confirm. Click "Save" to exit calibration.
7) Remove the weight, remove the measuring arm, and install the air hose.